Jan 10, 2013

Pottery Barn style Knit Pillow


Pottery Barn style Knit Pillow

INSPIRATION
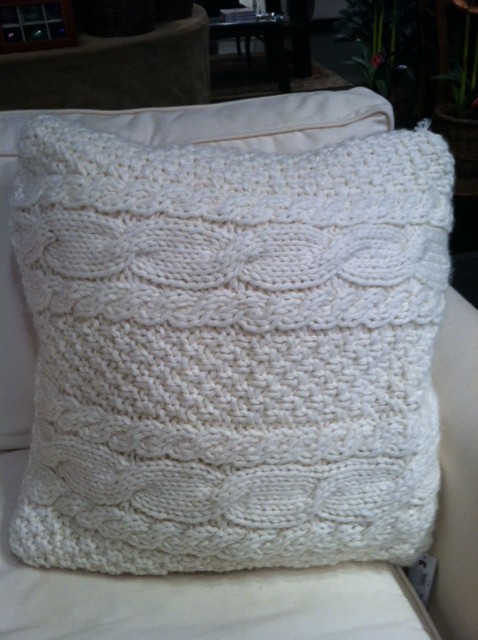
I saw this pillow at Pottery Barn the other day and I fell in love with how soft and snuggle it was. Made me want to curl up and watch a movie with it.   But then I looked a the price, ouch - $50.  That was not in my budget - so of course I said "I can make that".

SUPPLIES
I did a little research on line to find a big soft yarn to use.  I found Lion Brand Wool Ease was highly recommend.  I found it at Walmart and JoAnn Fabrics.  It is very soft, has the look of wool but isn't wool.  It was perfect. Not many color selections, but they had an ivory very close to my inspiration pillow.
KNIT 
I used size 15 needles and cast on 54 stitches for the 20" x 20" pillow. If you have never knitted, this is a perfect project to start with because you only have to know two stitches, the knit and pearl stitch.  The cable pattern is extremely easy to do.  I did a larger cable pattern on one side and a smaller cable pattern on the other side.  Here is the large pillow finished.


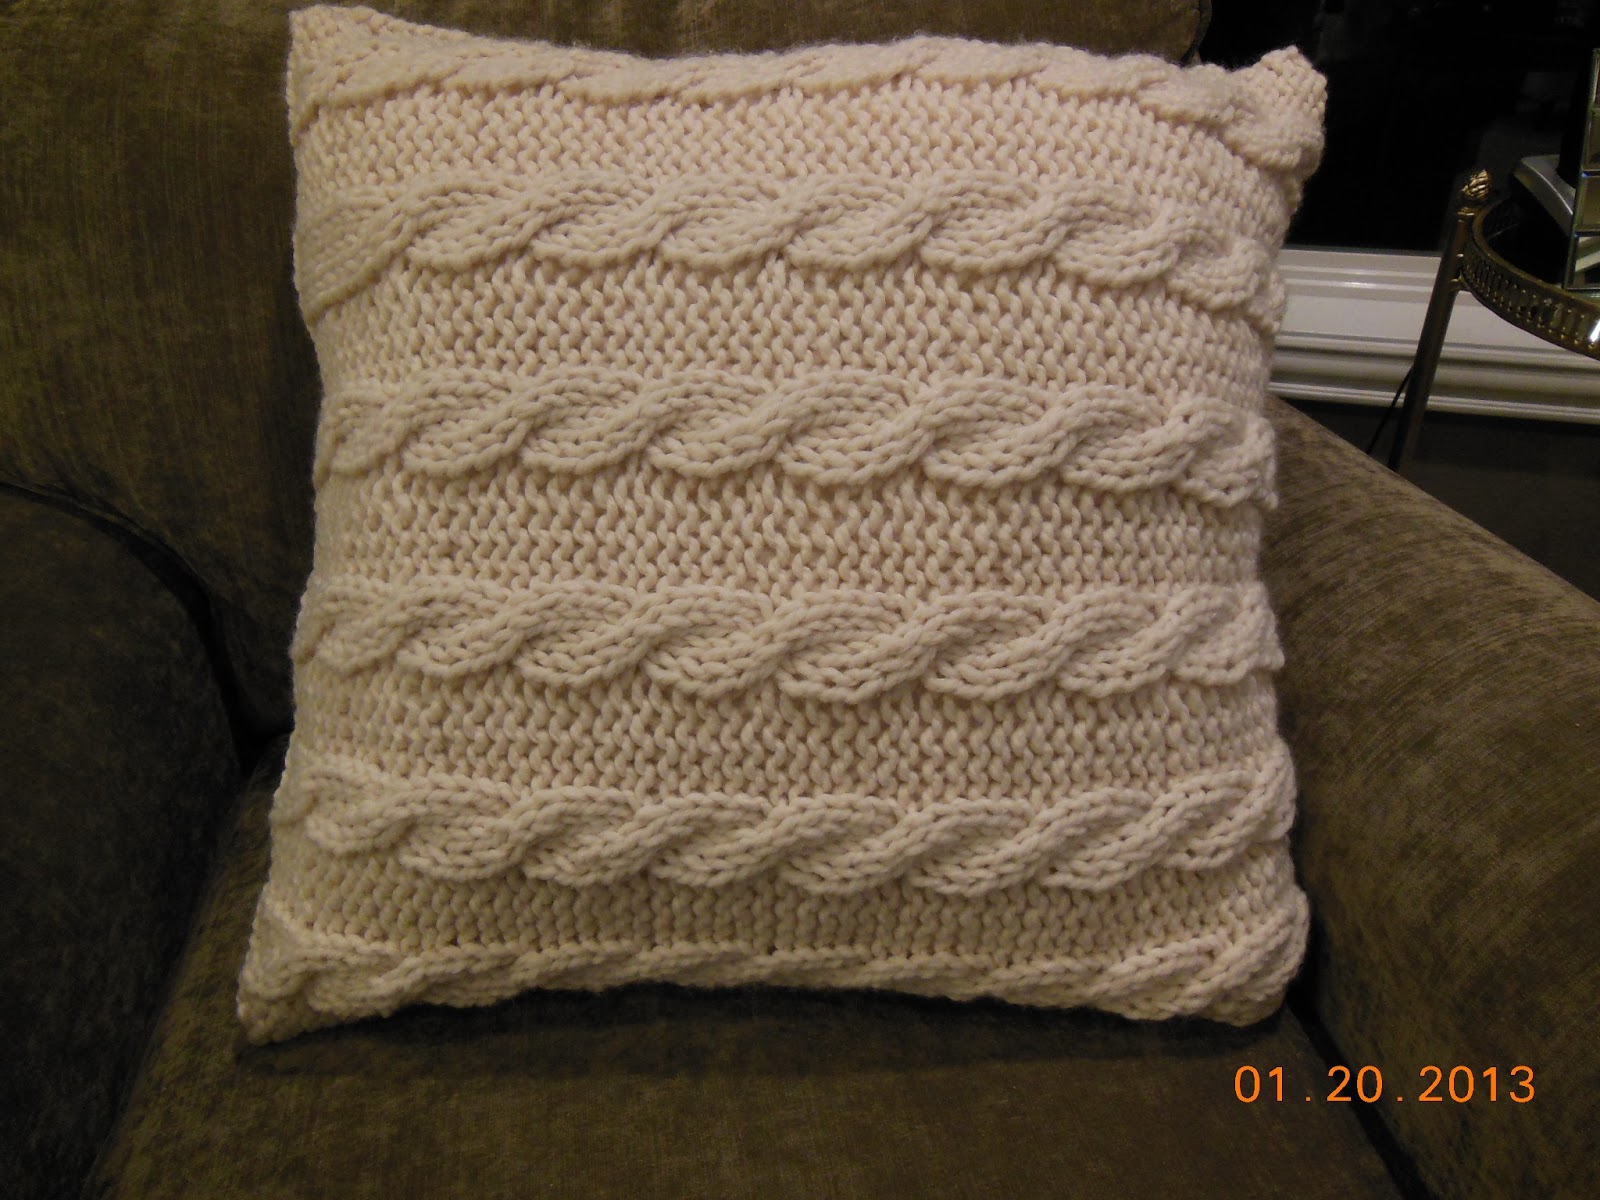
<-- other side of large pillow.


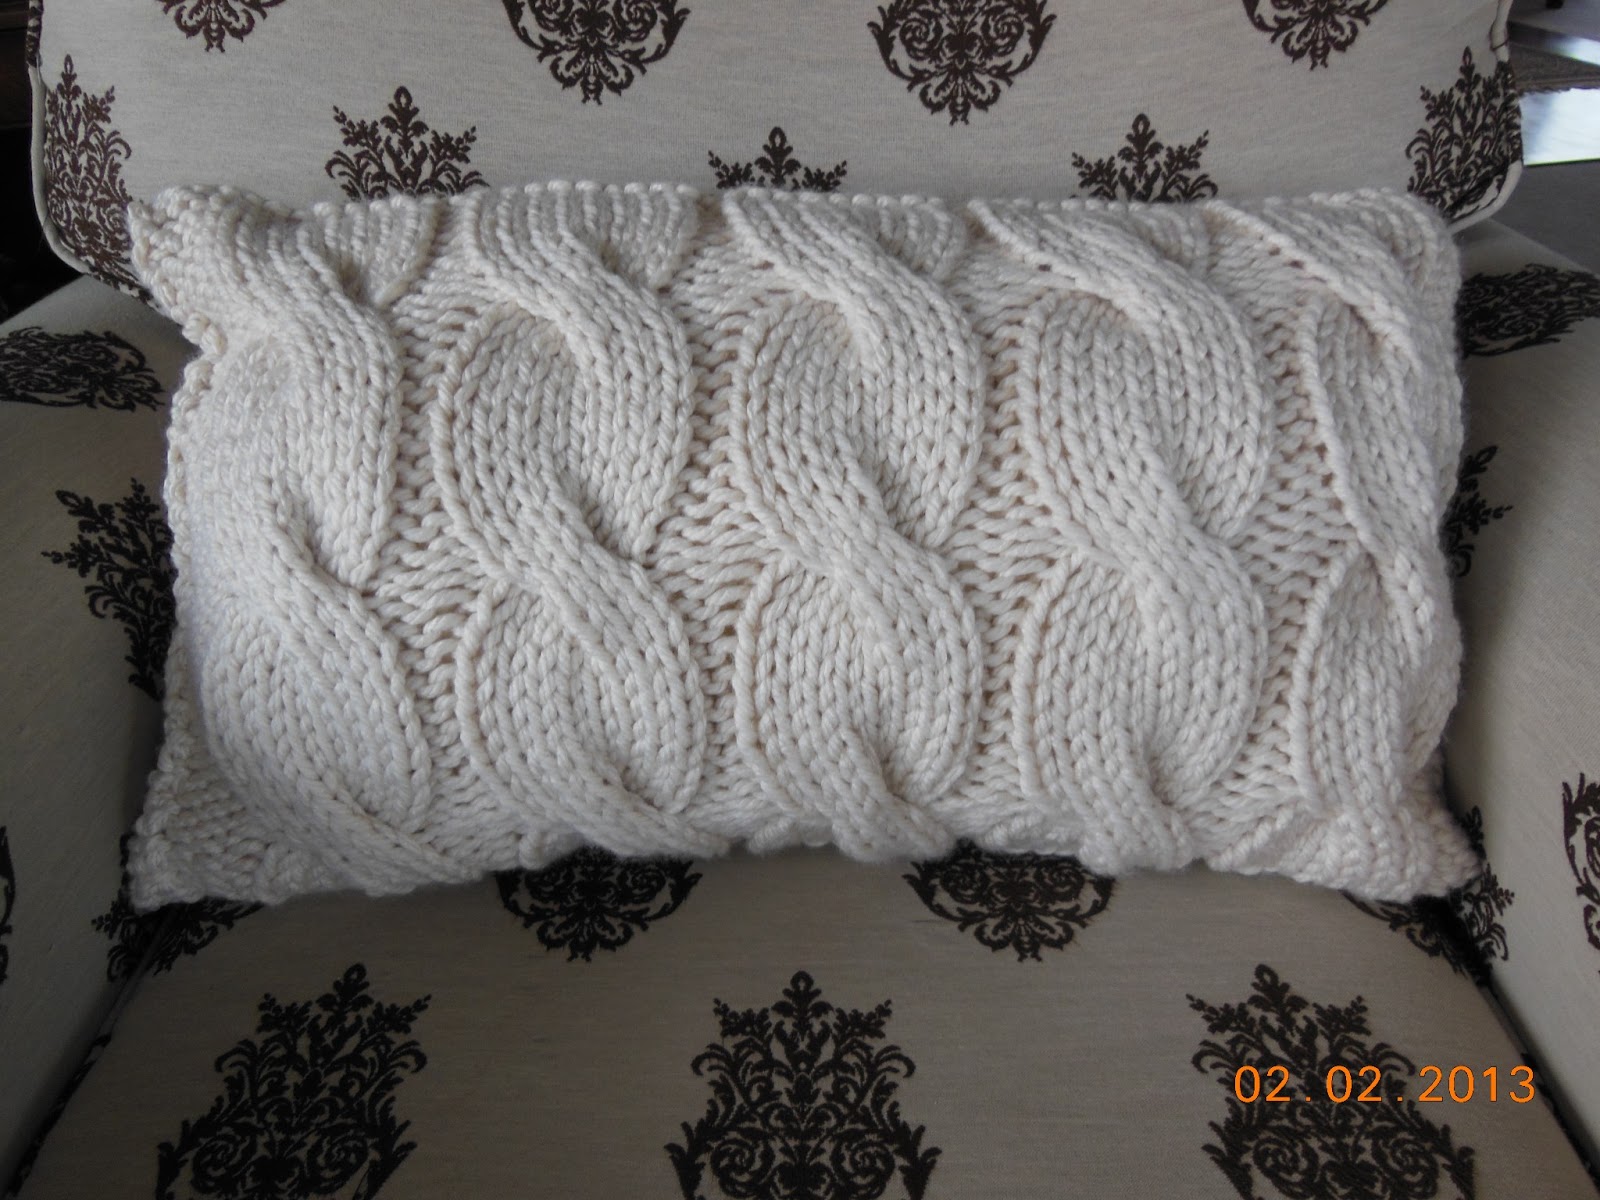
Here is the smaller pillow completed  -->  


THE PILLOW FORM
The Pottery Barn pillow was very soft, so I knew I needed a down pillow.  A 20" X 20" pillow insert would run around $30.  So I went to Home Goods (my very favorite store) and found two nice REAL DOWN pillows on clearance. the large one 20" x 20" was $8 and the smaller one 20" X 16" was $5.  The covers are ugly but they will be cut off anyway. Total cost to make the large pillow was $24, half the price
of the Pottery Barn inspiration piece.


Underneath the ugliness is a wonderfully soft down pillow insert.  It will work perfectly.

Jan 5, 2013

Mirrored Chest

I love mirrored furniture - but the it is too pricey to purchase, so I decided to make my own. 

INSPIRATION
These were my inspiration photos. These pretty babies range in cost from $1,200 - $3,400 way out of my range for one piece of furniture. 

THE HUNT
I hit Craigslist - one of my favorite shopping avenues.  I found this little beauty for $30.

PREP & PAINT
Not much to look at now, but I had a vision!  I washed the surfaces of the dresser thoroughly.  I then painted all the surfaces that would be showing after applying the mirrors.  You can use any paint you like.  I found this metallic gold and silver paint at a local variety store.  It worked well to re-create the glam finish I was after.  I used the silver for the base coat and then lightly applied a dry brush of gold on top of the silver. (Sorry I don't have more photos of the process, I did this project prior to starting my blog.)


MIRROR
My wonderful husband measured the areas to be mirrored because I am pathetic at measuring correctly and I didn't want to order the wrong size mirrors.  So down to the local glass shop I went.  Our local glass shop is so helpful, they suggested I bring in the actual drawers and have them cut and apply the mirror, as well as drill holes for knobs (yeah!).


NOTE: you have to use a special glue to adhere mirror so the glue doesn't destroy the mirrored finish on the back of the glass.  Your glass dealer can tell you what will be safe for mirrored surfaces.

EMBELLISH 
While impatiently waiting for my dresser to be mirrored I searched for the perfect knobs.  Here is where I splurged.  I couldn't resist ordering these fabulous crystal knobs on line, they were around $7 a piece (a splurge for me).


THE FINISHED PRODUCT


 I love it. I get all kinds of compliments.  Total cost was under $400, which is pretty good compared to my inspiration pieces in the thousands.
If you wanted to keep the cost down even more you could mirror just the front of the chest and still be very pretty.  Another way to save money is to NOT have the edges of the mirror beveled.  This will give you piece a slightly more modern look also.

Here is what to look for in the piece of furniture you are wishing to mirror.  Choose a piece with INSET panels on the drawers and ends.  That allows the mirror to set down into the inset and not expose any edges.  For the top, we simply tacked (or you could glue) a very small trim piece of wood around the edge to create an inset to put the mirror in. 

What I learned in this process: choose a piece of furniture that isn't too beat up.  I wish this piece had a smoother finish and fewer dings and nicks in it.  I didn't thing the small imperfections would show as much as they did after painting.

What would I change?  Well, I have this pretty chest in my living room and all the accents are mainly gold, not silver, so I am wishing I had applied more of a gold finish.  But I can still do that.  As soon as I get around to applying more gold to it, I will post a picture of how it turned out. 

Good luck creating your own glam-fabulous piece of mirrored furniture for your home!


Jan 1, 2013

DIY Welcome Sign


Easy 5 step DIY sign from a cabinet door. 

Find a cabinet door
I got this one from our local salvage place for $2. This one is aproximately 21" X 14" but they can be any size you wish.  I try to find doors with nice raised panels and as much detail as possible.  I don't care for oak doors as they have too much open grain, so I stick to smooth wood or painted doors. 
Prep and paint
Clean the surface of the door (use windex or mild soap and water) to remove any grime.  Lightly sand the surface so paint will stick.  Paint the front and sides of the door with water based paint, I used an ivory color here.  Let dry and apply a second coat of paint.


Distress/Sand - Optional
Once your second coat of paint is completely dry (overnight to be safe), sand all the edges to distress them.  Sand down to the wood surface if possible.  Don't be afraid to really go at it with the sandpaper.  I think the more distressing the better because it really shows off all the detailing on the panel.  Note:  I am showing a black door here, but will continue with my ivory door example.


Apply Stain
I use a Gel Stain from MinWax.  Brush the gel stain all over the face and sides of the door.  Then use a paper towel to remove most of the stain. You have to work quickly on this step because the stain will start to dry and it will be difficult to remove. 
Depending on how much antique look you want will determine how much stain you want to remove at this stage.  I like to leave more stain in the crevises to show the detail in the door.  Let dry completely before next step.
 
Here is an example of a very light stain applicatiaon -

Here is an example of heavy stain application


Print and apply your message
I print my message on Scrapbooking paper becasue it is thicker than normal paper and I can choose a  complimentary print.  Measure the area you are covering with the message.  Then print a practice sheet or two until you get the spacing just right.  You may have to butt two printed pieces of paper together to accomodate a longer panel. 
I use Modge podge to apply my paper to the door panel.  The ink is water soluable - so be very careful not to get any glue on the front of the paper near the printed message or it will smear.
  
Seal and embellish
Spray a couple coats of sealer on top of the paper to help protect the print.  I prefer Krylon clear matt finish.  Spray it all over the sign so the finish is consistent.  It cuts down on the gloss of the stain.  Don't worry if your paper looks "wet" in some spots after you spray the sealer on.  It will dry just fine. 
I embellished this sign with a burlap hanging strap adorned with a burlap rosette with a jewel center.
A few other examples for inspiration